A backup is a separate copy of files that you can use after loss or damage. Sync keeps locations aligned; a clone copies a drive or system. Restoring means retrieving a saved copy, while recovering missing or damaged data may need a different assessment. This guide covers a bounded starting point: one working personal computer, one user and one backup destination. One destination is a useful start, but it cannot protect against every event. Important files may warrant additional independent copies and an off-site copy; plan that separately rather than assuming this first routine is complete protection. If you are ready to think about locations and independence, read one onsite and two offsite backups as a separate planning question.
Start here
Start with a safe scope
Begin with files you could not easily recreate: documents, photographs, records and project folders. Do not assume that every folder, application, setting or online account is included. Check the selected folders and the destination before relying on the routine.
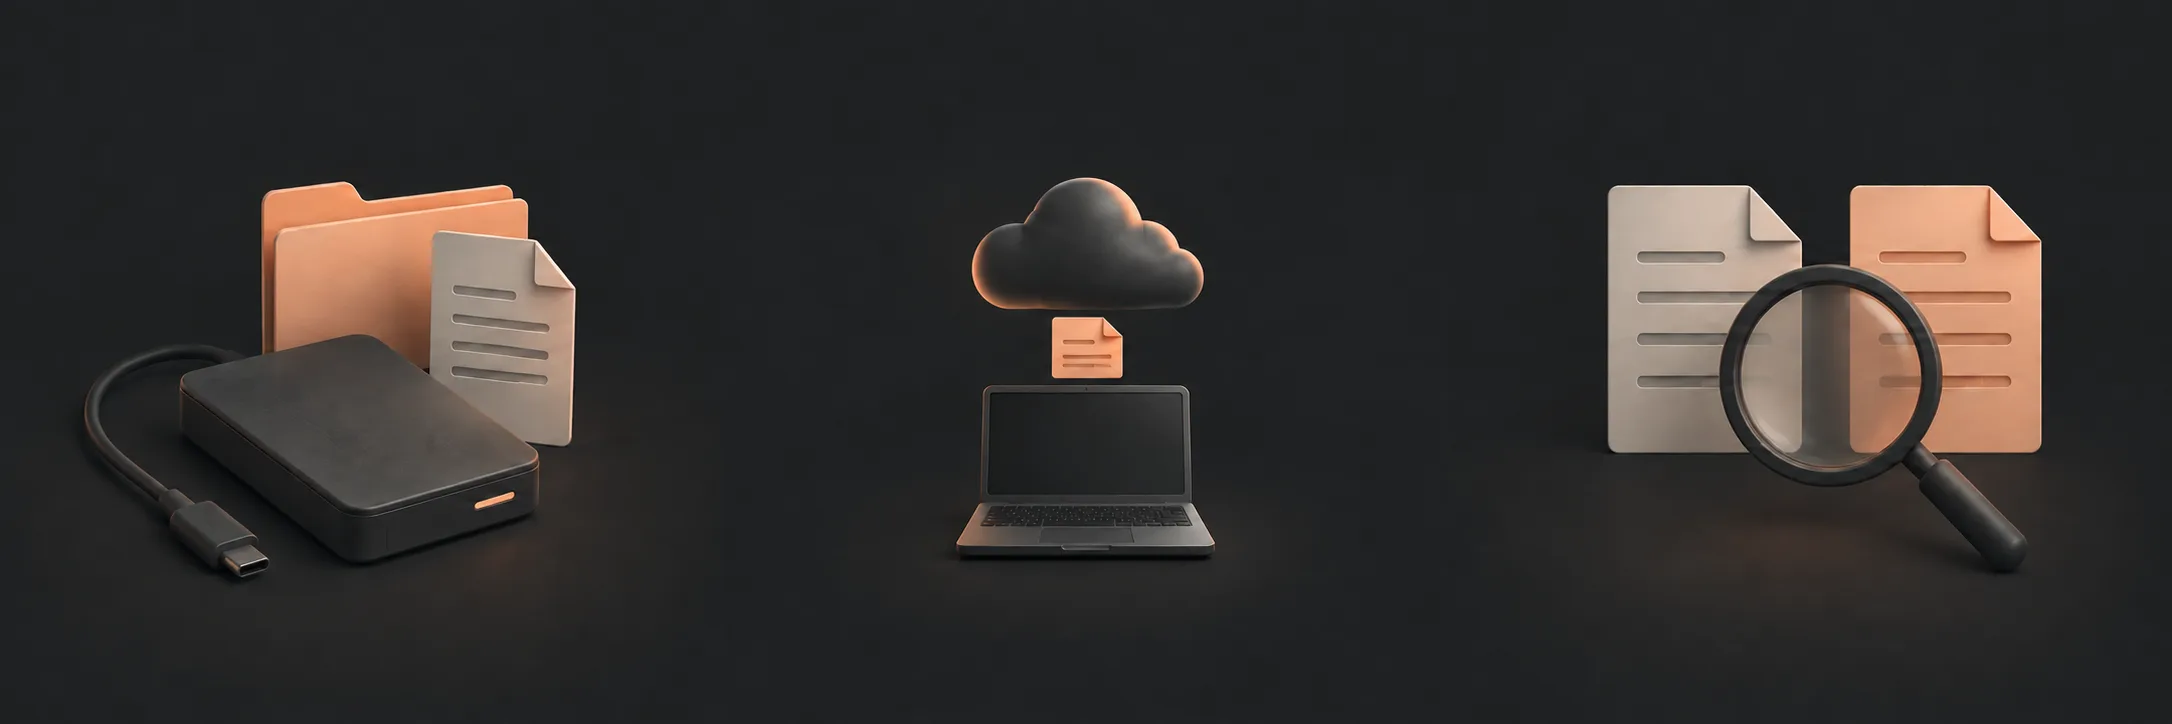 External storageCompare a disconnected external drive with a cloud destination, including capacity, routine and access limits.Read this part
Cloud storageUnderstand internet access, account control, synchronisation and version-retention questions before choosing cloud storage.Read this part
Sample checkUse one disposable text file to test whether the backup completes and a separate copy can be restored.Read this part
External storageCompare a disconnected external drive with a cloud destination, including capacity, routine and access limits.Read this part
Cloud storageUnderstand internet access, account control, synchronisation and version-retention questions before choosing cloud storage.Read this part
Sample checkUse one disposable text file to test whether the backup completes and a separate copy can be restored.Read this part
Check the computer and define the scope
Make a short list of the folders that matter and note whether they are local, synchronised or stored only online. A visible filename does not prove that a usable local copy exists. For preparation around a Windows move, see moving to a new Windows computer and the new Windows computer move checklist; those guides do not replace a backup.
Keep recovery codes and credentials out of notes, screenshots and backup-test files.
Choose a destination and configure a routine
An external drive can be convenient when you have enough capacity and can connect it regularly. Disconnecting it between backups limits some risks, but it also means the routine stops when the drive is unavailable or forgotten. Label the destination and decide where it will be stored.
For Windows, File History can use selected libraries or folders on an external drive or network location. For a Mac, Time Machine uses a local backup destination. Adding a destination may offer to erase it; stop unless it is deliberately empty or its contents are verified elsewhere.
Find the controls for your computer
On Windows, open Control Panel → System and Security → Save backup copies of your files with File History. Inspect the selected drive and included folders before turning it on. Microsoft explains File History setup.
On macOS Ventura 13 or later, open System Settings → General → Time Machine → Add Backup Disk. Follow Apple's instructions for your macOS version. Inspect the destination before proceeding. If asked to erase a drive containing anything you need, cancel. Store any backup-encryption password somewhere you control; you will need it to restore. Check progress and the latest completed backup in the Time Machine menu.
Cloud storage may be easier to reach when the computer and internet are available, but it depends on account access, provider behaviour, storage limits and a clear distinction between backup and sync. Compare both options in external drive or cloud: choosing a computer backup destination.
Confirm what is actually included
After configuration, inspect the selected folders, destination and recent-backup status. A routine should answer: what is copied, where it goes, how often it runs, how long versions remain and what happens when the destination or internet is unavailable.
Windows Backup can use a personal Microsoft account and selected folders through OneDrive, but it is not a disk clone or a promise that every application is restored. Review the current Windows Backup description before treating it as part of your plan.
Do not infer protection from a green-looking sync icon. With OneDrive Files On-Demand, an online-only file needs internet access, and a synchronised deletion can propagate. Microsoft explains online-only files and deletion behaviour.
Prove one safe restore
Create a disposable plain-text file containing no personal data. Put a fictional sample label, date and known sentence in it, then save it inside a folder that the selected backup includes and that is locally available. Wait for a verified completed backup containing the sample.
Keep the original and restore a separate copy with a different path or name. Never delete or overwrite an important file. If the restore route is unclear, stop. Follow the bounded file-restore test, which covers the different Windows and Mac behaviours.
Record the date, source, version or backup point, destination and outcome. One successful sample demonstrates a route worth repeating; it does not prove exhaustive protection.
What to read next
If you’d rather have local help, see our home-computer backup setup service.