A new printer is easier to set up when you treat it as three separate jobs: prepare the equipment, connect it to one device, and check the functions you intend to use. The exact model and operating system matter. Keep the manufacturer instructions nearby, use supported software, and avoid assuming that every printer, phone or network behaves the same way.
Start here
Start with the exact model
Before opening settings, record the printer’s full model name and check the instructions for your operating system.
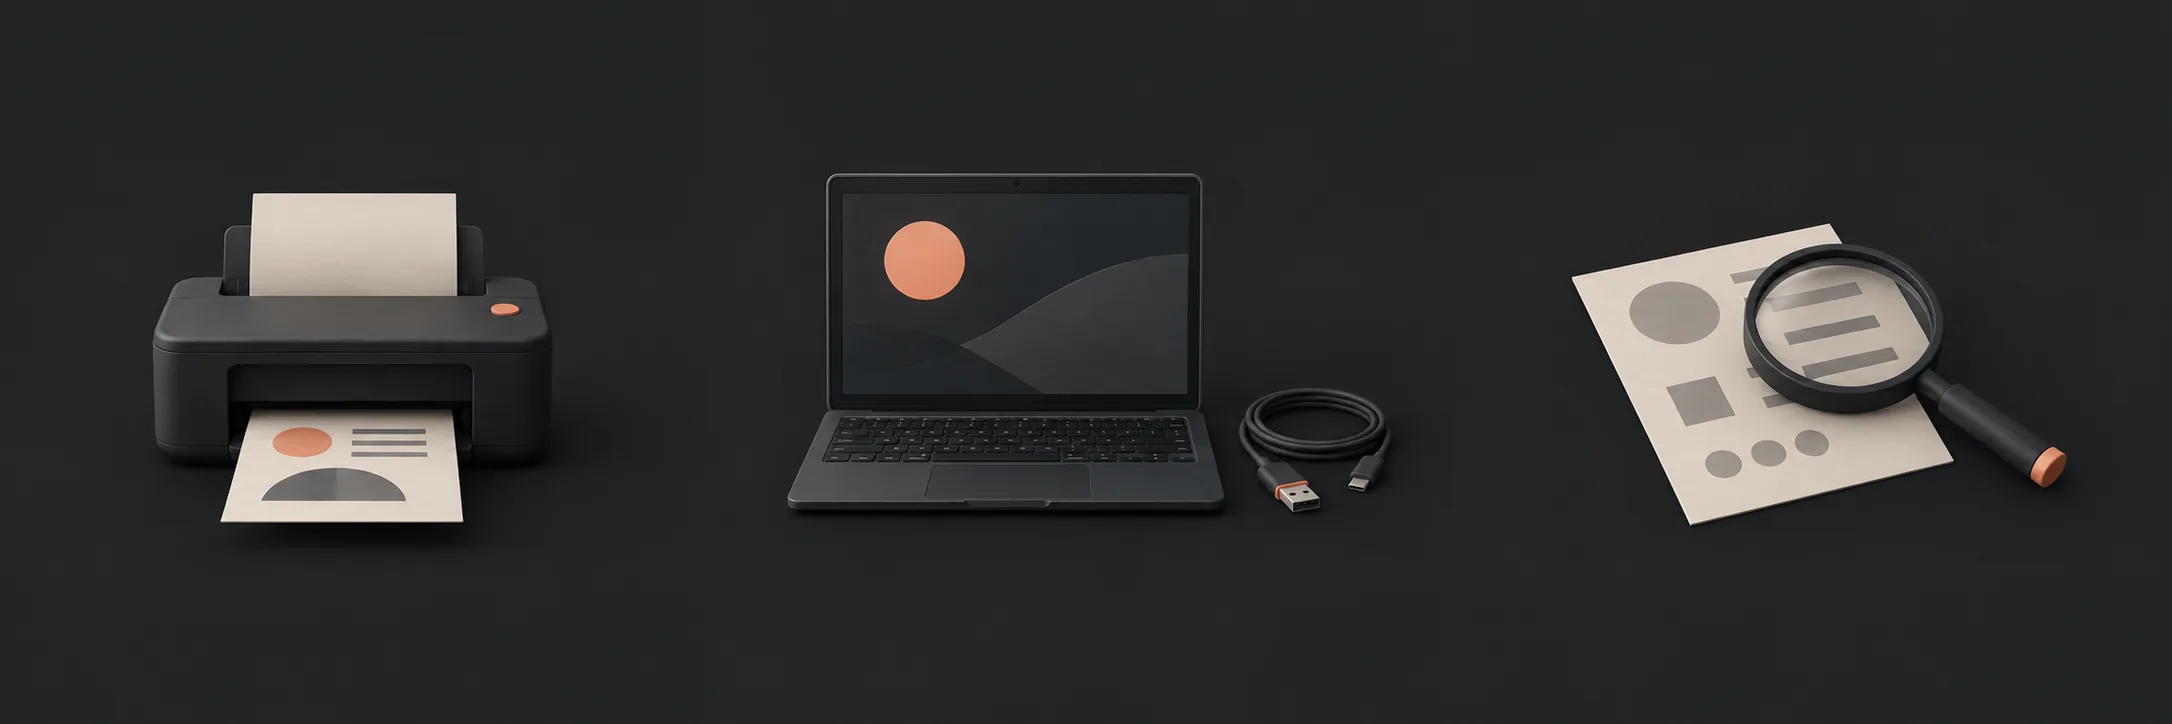 Identify the equipmentFind the exact model, supported operating systems and the manufacturer’s setup instructions before choosing software or cables.Read this part
Choose one connectionUse either a suitable existing Wi-Fi network or a compatible USB connection, following the model’s instructions.Read this part
Check each functionTest ordinary printing and scanning separately. A successful print does not prove that scanning is ready.Read this part
Identify the equipmentFind the exact model, supported operating systems and the manufacturer’s setup instructions before choosing software or cables.Read this part
Choose one connectionUse either a suitable existing Wi-Fi network or a compatible USB connection, following the model’s instructions.Read this part
Check each functionTest ordinary printing and scanning separately. A successful print does not prove that scanning is ready.Read this part
Identify the equipment
Write down the exact printer model, rather than just the brand. Check whether the model supports the computer or mobile device you plan to use and read the manufacturer’s instructions for that combination.
For Windows 11, open Settings > Bluetooth & devices > Printers & scanners and check whether the printer is already listed before selecting Add device. Use current software from Windows Update or the manufacturer’s official support page. Avoid unofficial driver sites and do not install a package merely because its name looks similar.
For an iPhone or iPad, wireless printing depends on an AirPrint-enabled printer and a compatible setup. Not every app supports printing. See Apple’s AirPrint instructions for the supported process.
Choose a connection
Choose the connection described for your model. A wireless setup normally requires the printer and device to use the same household network. Do not assume that a particular Wi-Fi band, extender or guest network will work unless the manufacturer says it will.
A direct USB connection can be simpler where the printer and primary device are close together. Use a compatible cable and follow the manual’s order of steps. If the instructions ask you to install software before connecting the cable, follow that sequence rather than improvising.
Add the printer to your device
Install only the software needed for the exact model and intended device. During setup, check the selected printer name and connection before accepting. If Windows already shows the printer, use that existing entry rather than repeatedly adding duplicates.
On a phone or tablet, use the manufacturer’s supported app or the operating system’s supported print action where appropriate. If an app cannot print, that may be a limitation of the app rather than proof that the printer is faulty.
Check each function
Print one ordinary, harmless page first. Confirm that the text is legible, the paper size is correct and the page is not unexpectedly cropped. If the printer is multifunction, test scanning separately with the manufacturer’s supported software and save the result to an intended folder.
Record what worked and what you have not tested. A completed connection is not the same as proof that every feature, account option or future device will work. For Windows scanning details, use Microsoft’s scanner guidance. For Windows printer installation details, see Microsoft’s printer guidance.
If an existing printer has stopped working, use the printer troubleshooting checks instead.
For setup steps, use the instructions for your exact printer and consumables. If relevant, see Apple’s AirPrint instructions or Microsoft’s printer installation guidance.
What to read next
If you’d rather have local help, see our new printer setup help.